I don’t want to share this exactly but chocolate chip cookies used to not be my favorite. Don’t shame me. I’ve changed! I promise! I used to be more of a cake girl. Cupcakes, coffeecake, birthday cake, meatloaf cake. Just loved that cake. I’d even eat a small amount of fruit cake. But then I met my boyband (my boyfriend husband… it’s a cute kind of sickening abbreviation) and he altered my reality. He first did that by telling me I was calculating sales tax incorrectly but that is neither here nor there. No, he had a passion for cookies. And then once I started eating cookies I got one too.
Fresh from the oven ooey gooey chocolate chip cookies are one of life’s greatest pleasures. Followed by one of life’s greatest tragedies… skinny jeans no longer being an option. When we went gluten free, I was astounded at the plethora of cookies that are sold. Most full of mysterious ingredients and most mixes more terrifying than a vet visit with a bulldog. Bulldogs will always cost you a million dollars every time you go to the vet. Fact. I did not care too much for the prepackaged cookies anyway. There are some good ones. I list them for you on my product page, but the cookie dough, is hit or miss and contains who knows what.
So I had to make my own and they had to be to my liking. I have two different go to recipes for chocolate chip cookies. This one is by far my favorite. It has a bunch of butter, so duh, it’s the best. They are flatter and make you feel less grossness if you eat ten. The second one uses shortening. The first one makes you wait and refrigerate the dough. The second one lets you plop it on a cookie sheet and have melted chocolate running down your face twenty minutes later. Try both. You can’t go wrong with a chocolate chip cookie made with love and prayers for perfection.
Check out my note on why I use Pamela’s Artisan Gluten Free Flour and what you can use if you don’t have it here.
Attention: These cookies are best if the dough is allowed to congeal in the fridge for 24 hours(like sit there getting happy together). I know that sounds insane. When you want cookies, you want them now! I will show you two other methods to deal with these cookies if you simply can’t wait. But please. Wait. It will teach you patience and you can do some sit ups in the meantime. I do sit ups all the time. Sometimes with cookies in my hands for extra weights. Gotta get that belly cookie ready!
Man Boy loves Hershey’s Kisses. I think milk chocolate should not exist. But you know, in these cookies it just happens to work. I made these to cheer him up one day when school was about to start and he was thinking about how much he was going to miss his mother and how could never live without her. Okay, maybe he was just miffed summer was over and he was going back to school when it was 105 degrees. Let me think what I want! These cookies came in handy because once he was back in school, I had something to do with myself… eat them. And write about them so you eat them too. Let’s make some emotional eating cookies, shall we?
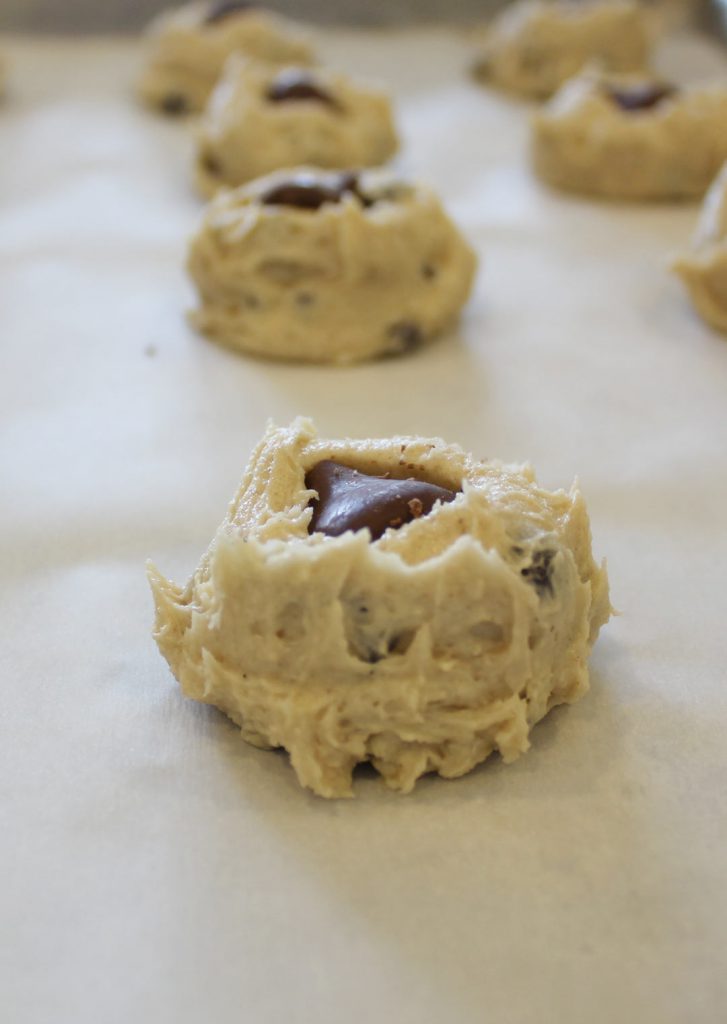
Dough should look so good that it is almost impossible to resist eating at least one raw cookie.
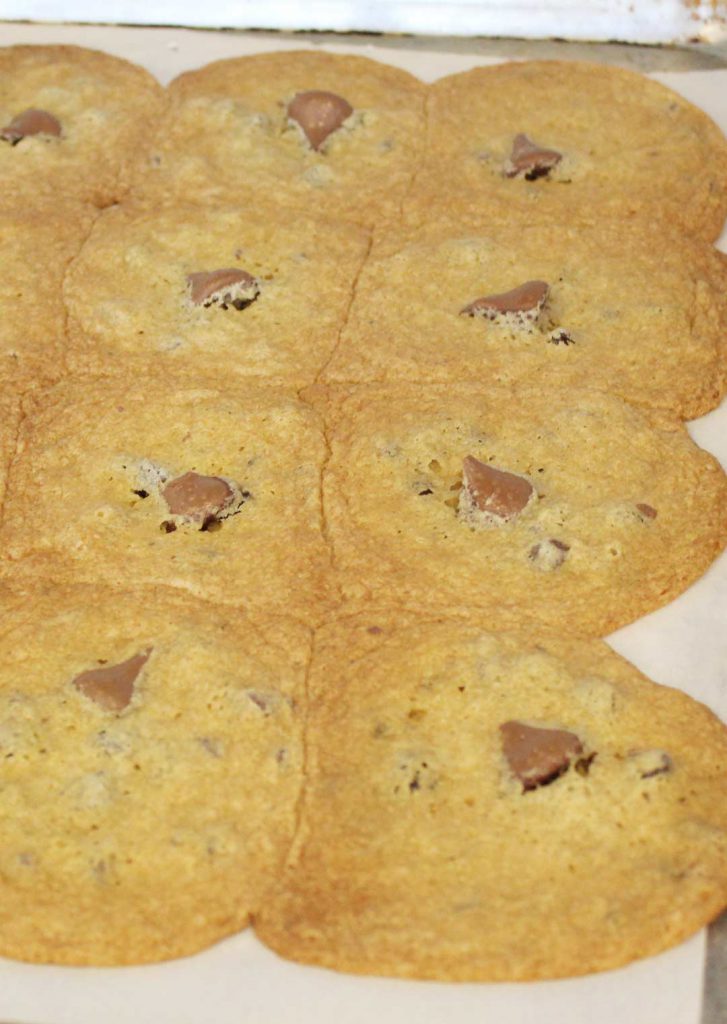
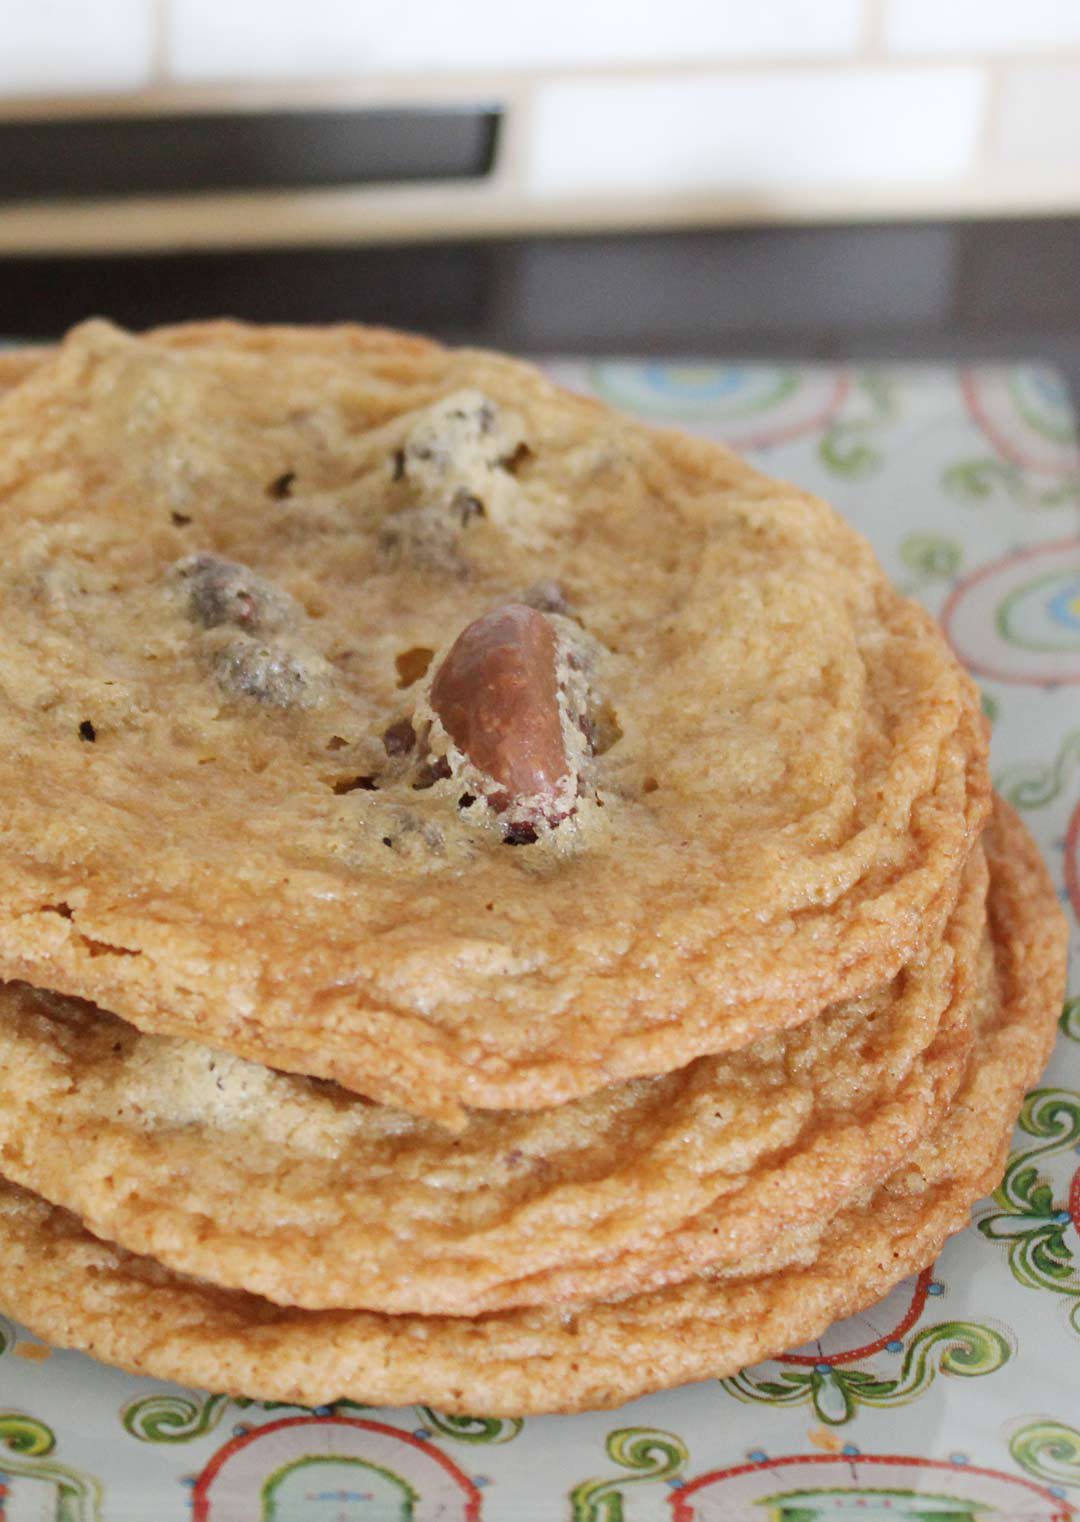
If you baked these off right away without letting the dough sit and get married, this is what you may end up with. Beware. Space those cookies far apart. I tried doing 12 on this pan. I already learned the lesson for all of us. But still totally delicious, just not as purdy.
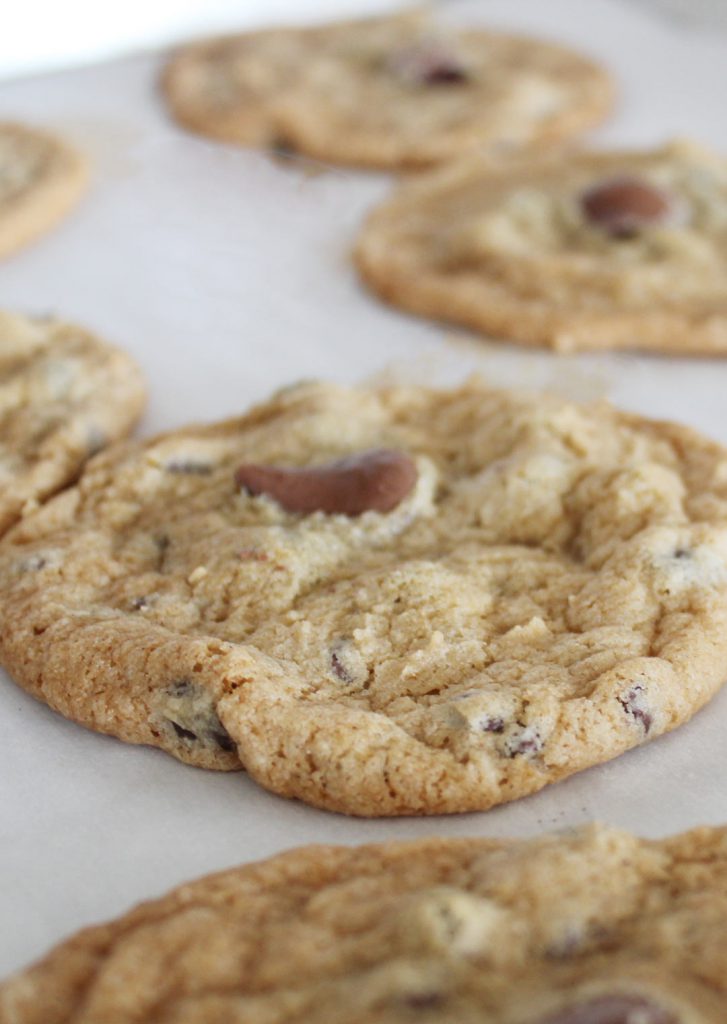
Fresh out of the oven. Cooling on the pan. Thinking about how precious they are. Can you smell the sugar and chocolate?
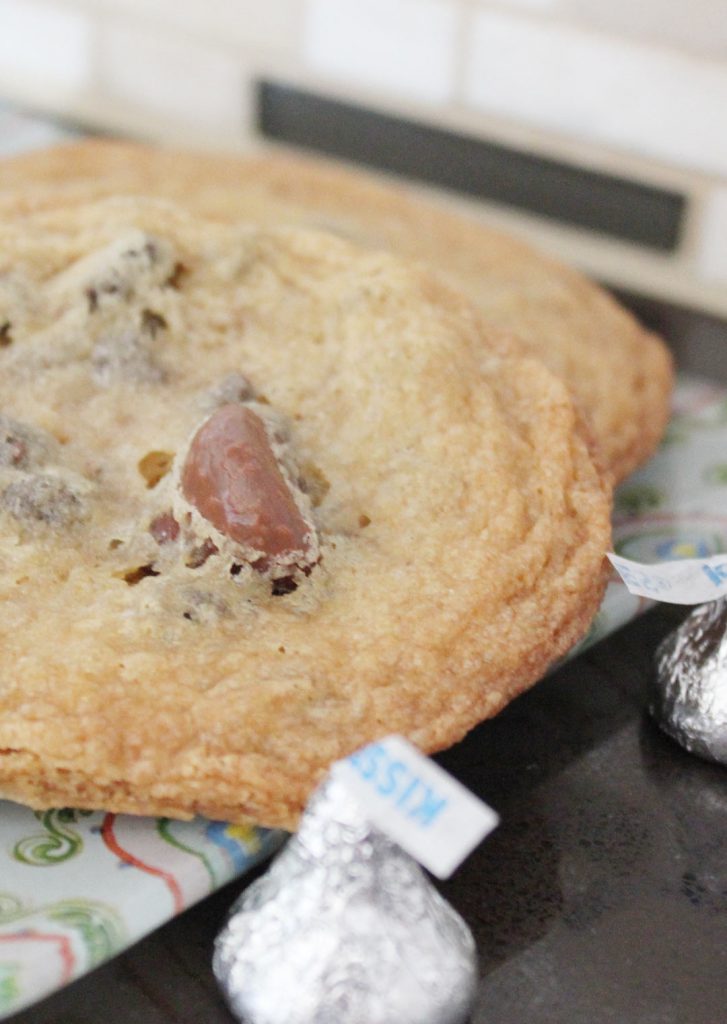
Hershey kisses have met their greatest calling.
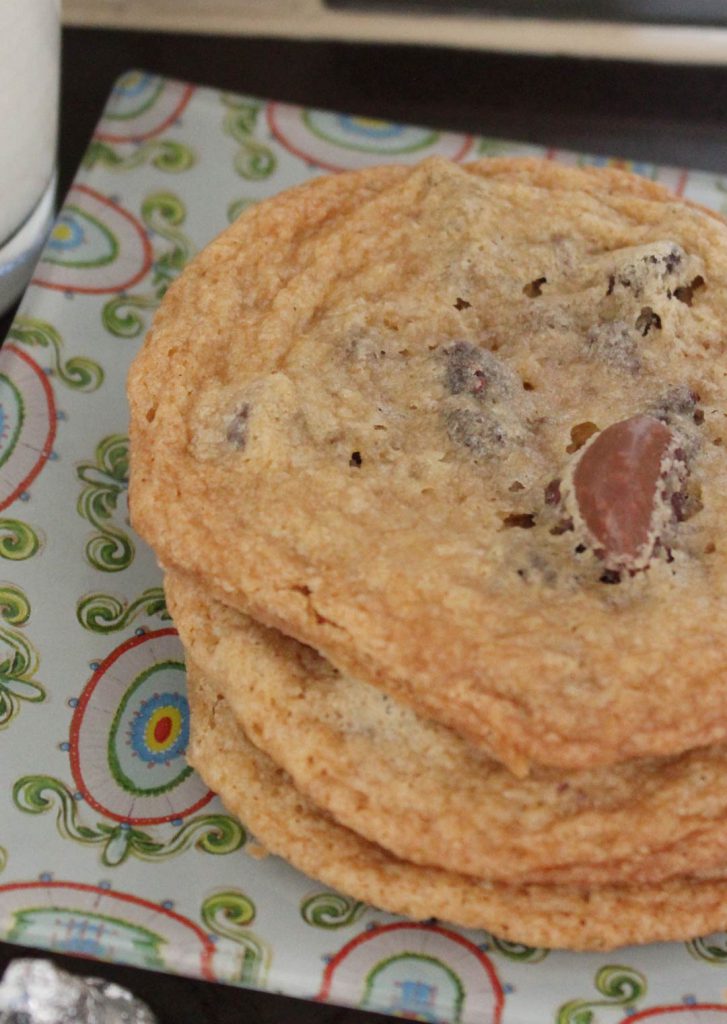
I just love cookies. And pictures of cookies.
Kiss Me Chocolate Chip Cookies by Gutsy Gluten Free Gal
Ingredients
- 1 cup butter softened (easy way is to just put it on a plate and microwave for 13 seconds then put in bowl of mixer and turn the beaters on it a bit
- 1 cup granulated sugar
- 1 cup brown sugar
- 2 eggs
- 2 teaspoons vanilla
- 2 ½ cup Pamela’s Gluten Free Artisan All-purpose Flour
- 1 tsp baking soda ( I use Arm and Hammer)
- 1 tsp baking powder (make sure it is gluten free like Calmut)
- 1 tsp salt
- ½ tsp cinnamon
- ¼ tsp xanthan gum
- 1 ½ cup semi sweet or dark chocolate chips
- 17 Hershey kisses (wrappers removed and cut length wise in half)
Instructions
If you are impatient and have chosen a very bad path for yourself, then preheat the oven to 350 degrees. Otherwise, know you are a good person and wait to heat the oven for when the dough is ready is refrigerated in 24 hours or frozen for 2 hours.
Prepare 2 pans (air bake pans will give you a crispier cookie) by covering/lining/caressing with parchment paper.
In the bowl of a mixer fitted with a paddle attachment (or bowl of a hand mixer with normal attachments) cream the butter on high for 30 seconds.
Add the granulated sugar and brown sugar. Mix together on medium for 1 minute or until combined.
Add the eggs and vanilla to the bowl of sugar butter and mix on low until all incorporated and smooth.
In a separate bowl(I know annoying but it helps insure everything is mixed) combine the flour, baking soda, baking powder, salt, cinnamon and xanthan gum. Mix with a fork or your claws.
Slowly add the dry ingredients to the wet ingredients and mix on low until it is all combined and no flour is visible. You may need to scrape down the side of the bowl if it is hiding there.
Once the dough is combined add the chocolate chips and mix again on low until evenly distributed but don’t over mix. 15 seconds should totally do it.
Using a large cookie scoop (mine holds about 2 tablespoons) or spoons or telepathic movement, scoop dough onto the parchment lined cookie sheet. Now stop! These cookies need space. They are butter based so they will spread. Give them room to breathe. I put about 8 on a large pan. These are large cookies. Space about 3-4 inches apart.
Once you have all the dough balls together and resting on their parchment, place one Hershey’s kiss half into the center of each cookie dough ball. Gently press in.
Now, if you want cookies that will spread no matter how far they are spaced and have a more sugary slightly more crispy texture put them in the oven and bake 16 minutes.
If you want cookies that are going to be slightly more firm then cover and put in freezer for 2 hours and then bake for 16-18 minutes.
If you are amazing, then cover the cookies and place in the refrigerator for 24 hours or at least overnight. Take out and bake for 16 minutes and thank me for the virtues of patience and knowing how to make a proper cookie.
Place cookies on cooling rack or on the counter (still on their parchment) to cool.
Notes
Note if you are waiting to bake these: Because these cookies have to be spaced and won’t all fit on two cookie sheets, I just do a layer on the cookie sheet and then put another layer of parchment over it and put the next layer of cookies on it. When you are ready to bake, just set aside the extra cookie dough layers and when the baked cookies are out of the oven slide them (still on their parchment paper) to a cooling rack. Slide the unbaked batch onto pan and then pop those suckers in the oven. Easy.



No Comments